Setting up a custom UI for a self-hosted private registry with Portainer can be a great way to manage your Docker images and control access to them. In this blog post, I’ll walk through the steps to set up a custom UI for a private registry using Portainer, a popular open-source tool for managing Docker containers.
Step 1: Set up a private registry
The first step in setting up a custom UI for a self-hosted private registry is to set up the registry itself. You can do this by running the following command:
docker run -d -p 5000:5000 --restart=always --name registry registry:2
This will start a container running the official Docker Registry image and make it accessible on port 5000.
Step 2: Install and set up Portainer
To set up Portainer, you’ll need to run the following command:
docker run -d -p 9000:9000 -v /var/run/docker.sock:/var/run/docker.sock --name portainer portainer/portainer
This will start a container running Portainer and make it accessible on port 9000. Once Portainer is running, you can access the web UI by navigating to http://host_ip:9000 in your web browser.
Step 3: Connect Portainer to your private registry
In Portainer, navigate to the “Registries” tab and click on the “Add Registry” button. Enter the URL of your private registry (e.g., http://host_ip:5000) and a username and password if you have set up authentication for your registry. Once you’ve entered the information, click the “Connect” button.

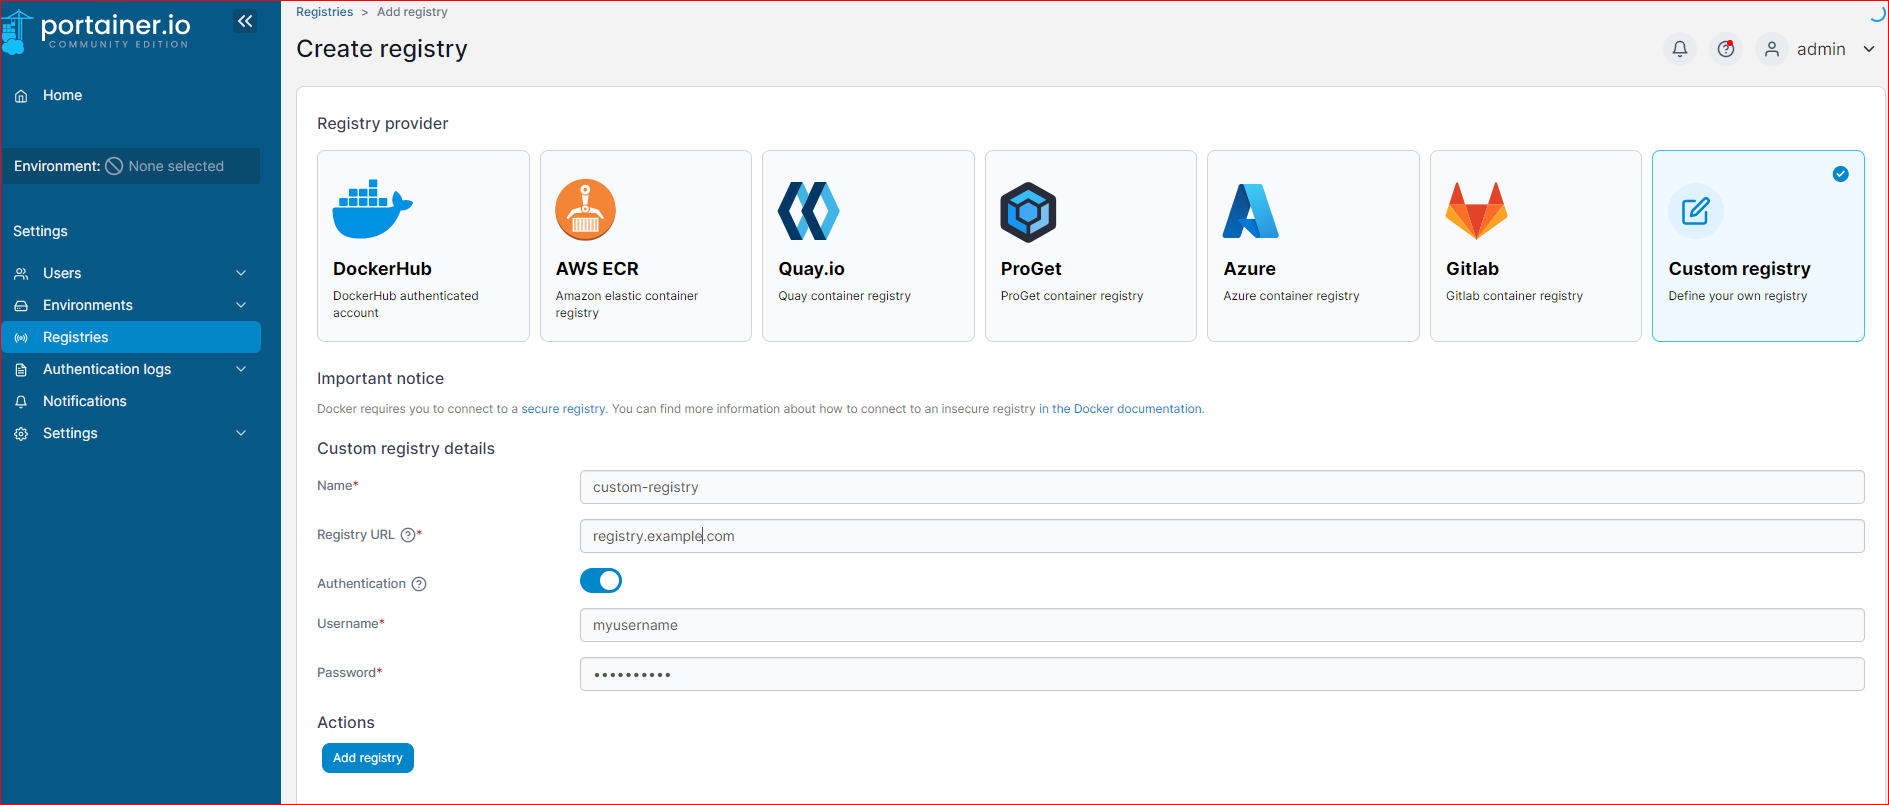

❗❗ Ops! I forgot that the registry browse feature is only available for Portainer Business Edition. Luickly, Portainer offers 5 node free for Business Edition. In our case, we just used 1 node. That is, it is FREE! Just head to Take 5 - Get your first 5 nodes free to get the benefit.
Step 4: Install and set up Portainer Business Edition
docker container rm -f portainer
docker run -d -p 8000:8000 -p 9443:9443 --name portainer --restart=always -v /var/run/docker.sock:/var/run/docker.sock -v portainer_data:/data portainer/portainer-ee:latest
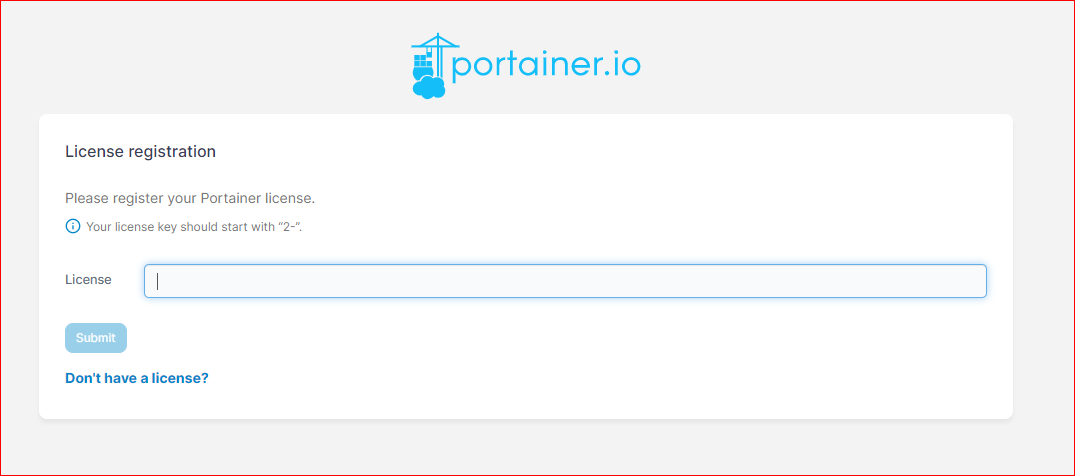
Fill in with the Portainer token

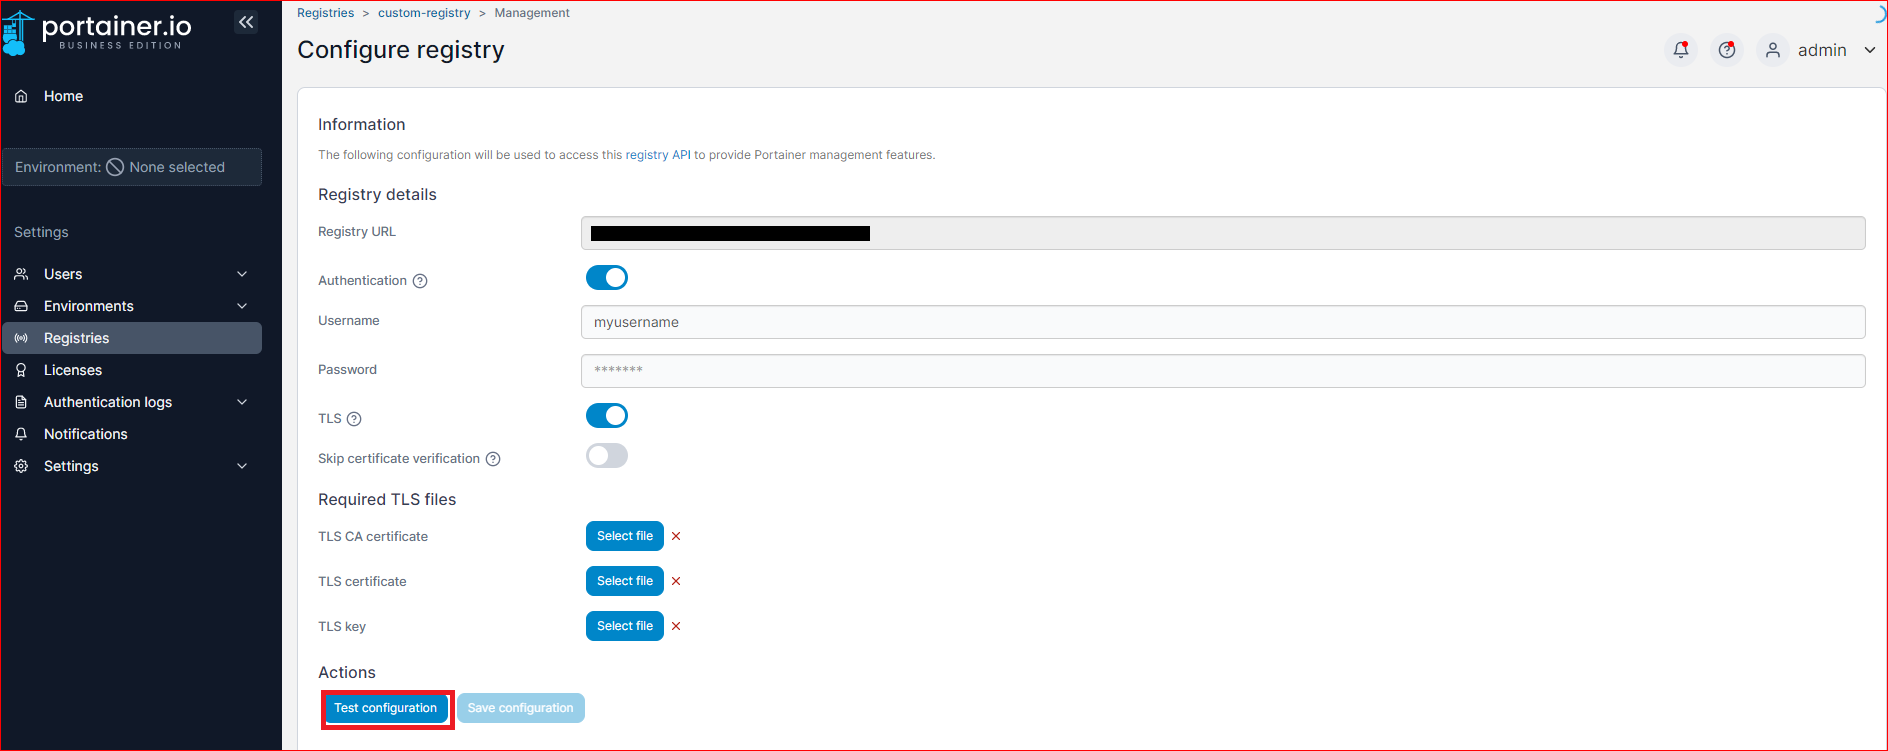
Step 5: Configure the TLS certificate (if your self-host registry uses HTTPs)
Click the “Browse” button. It will take some time to load for the first time if your self-host registry uses HTTPs. Wait until the below page shows up. Then click the link “Configure this registry”

Upload the TLS certificate and key files. Validate the configuraiton with the button “Test configuration”.
Step 6. Configure access controls for your registry
Once you’ve connected Portainer to your private registry, you can set up access controls for the registry by navigating to the “Access” tab. Here, you can add users and assign them different roles (e.g., administrator, developer, etc.) and permissions.
Step 7: Start using your custom UI
With your custom UI set up, you can now start using it to manage your private registry. You can view and manage images, set up access controls, and more.
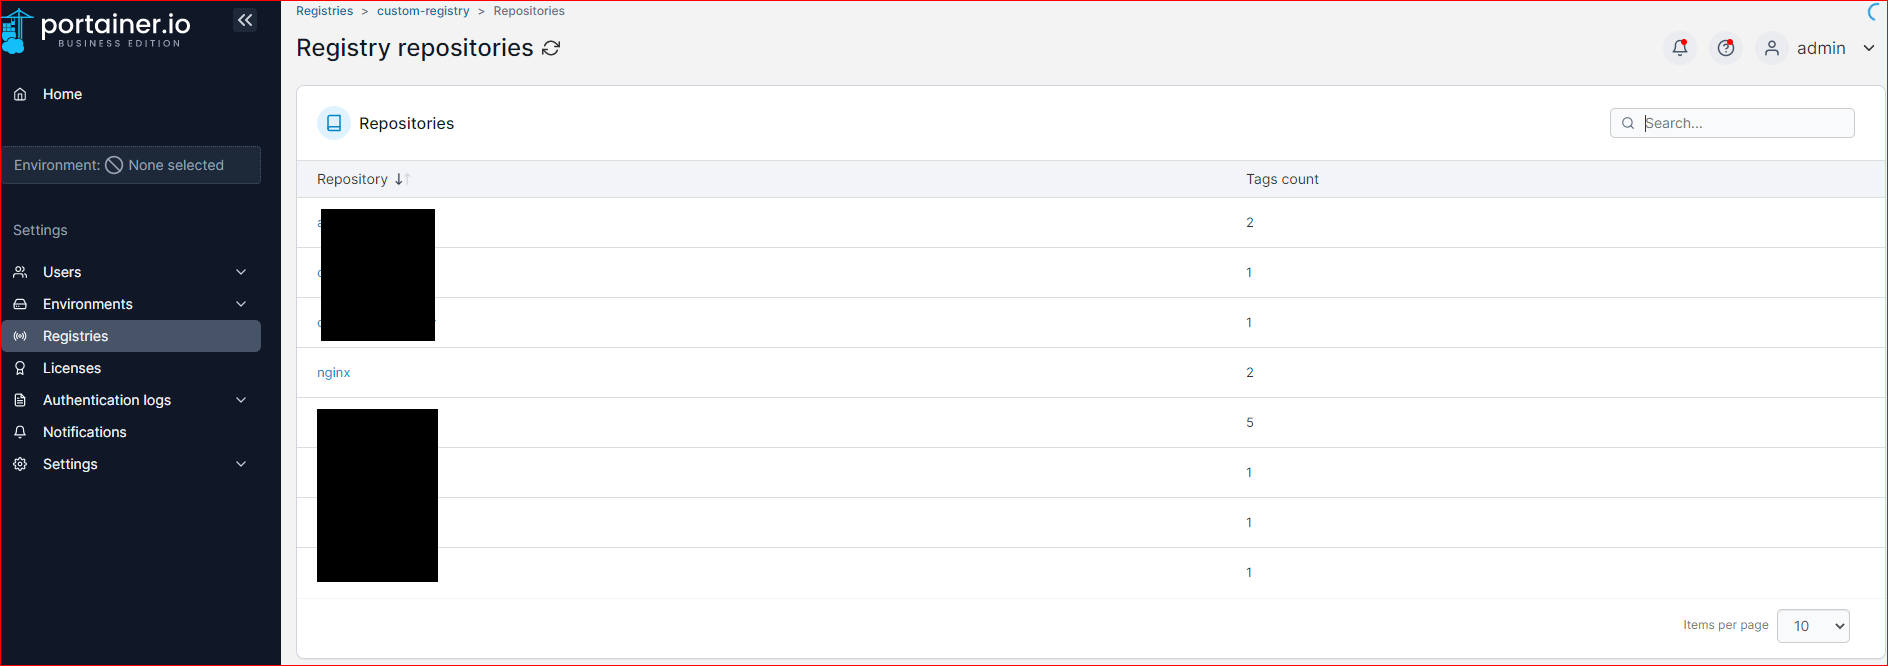
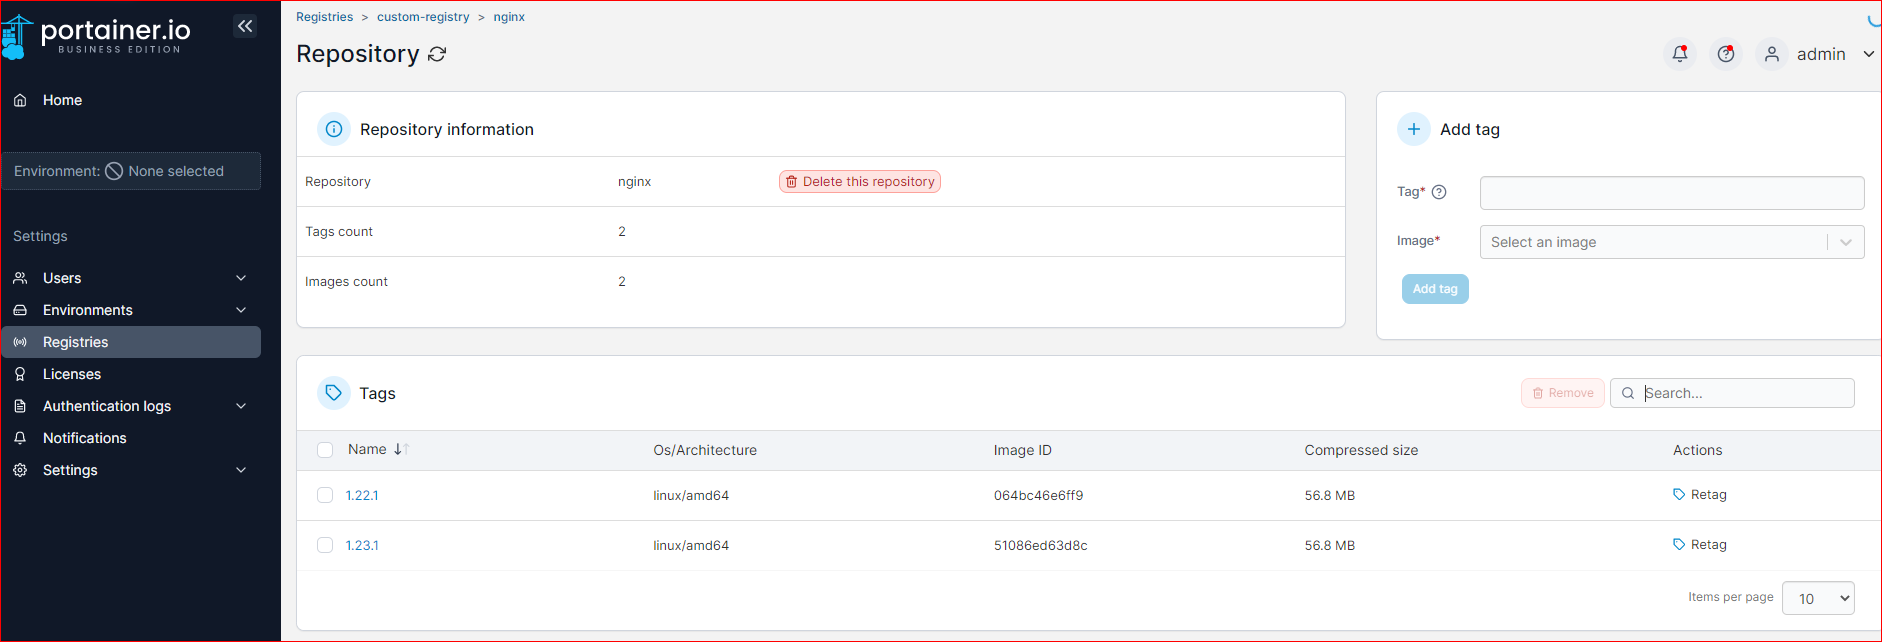
In the image repository page, you can even choose an existing image to add extra tag. For exmaple, add a new tag latest for the nginx version nginx:1.23.1.
In conclusion, setting up a custom UI for a self-hosted private registry using Portainer can be a great way to manage your Docker images and control access to them. The steps outlined in this blog post should help you get started. Remember to keep your Portainer and private registry up-to-date to ensure the best performance and security.
If this post helped you to solve a problem or provided you with new insights, please upvote it and share your experience in the comments below. Your comments can help others who may be facing similar challenges. Thank you!

