
Managing workflows in n8n often involves handling large chunks of text or generated content, which might exceed the limits of platforms like Slack or Discord. An effective solution is to convert this text into a file, upload it to an S3 storage bucket, and share the access URL. This guide walks you through creating a downloadable file from text using n8n and setting it up for automatic handling.
1. Save the Text into a File
Start by utilizing the Code function node. Suppose your previous node outputs the following JSON:
[
  {
    "content": "Did you know that for the announcement of Don't Starve Together, the players had to solve an unusual riddle. They needed to find notes in the game with coordinates that needed to be compared with a secret map. After it turned out that all the coordinate points form a constellation of twins. However, how did it announce the game?... very long content",
    "filename": "dont-starve-latest-news.md"
  }
]
To convert this output into a file, add a Code function node leveraging JavaScript:
/**
 * Create a Markdown (.md) file in binary format for n8n
 * to facilitate disk storage or S3 uploads.
 */

const fileName = $input.first().json.filename;
const content = $input.first().json.content;

if (!content) {
  throw new Error("Missing content to write.");
}

// Encode Markdown text → Base64 for binary handling
const buffer = Buffer.from(content, "utf8");
const base64Data = buffer.toString("base64");

// Return a binary + JSON payload
return [
  {
    json: {
      fileName,
      status: "✅ Markdown file binary created",
    },
    binary: {
      data: {
        data: base64Data,
        mimeType: "text/markdown",
        fileName,
      },
    },
  },
];
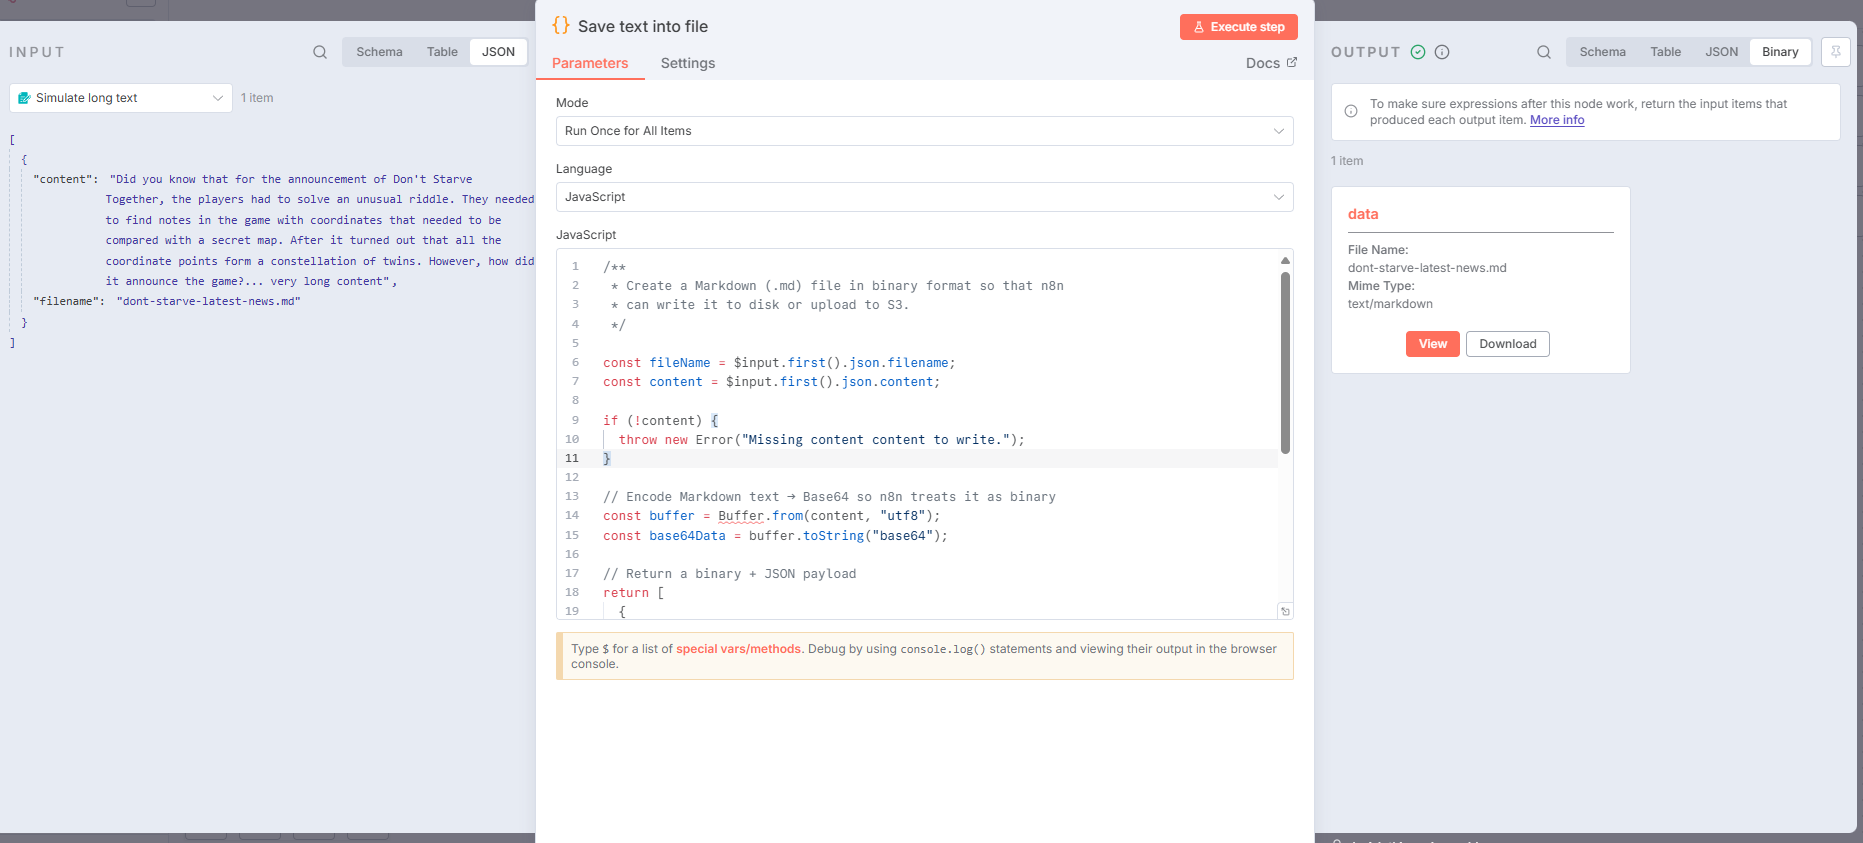
In this example, the content is saved into a Markdown file by setting the mimeType to “text/markdown”. You may refer to this MIME types guide for different file types.
Currently, you can manually download the file from your n8n workflow. To streamline this, we proceed with uploading the file to S3 storage.
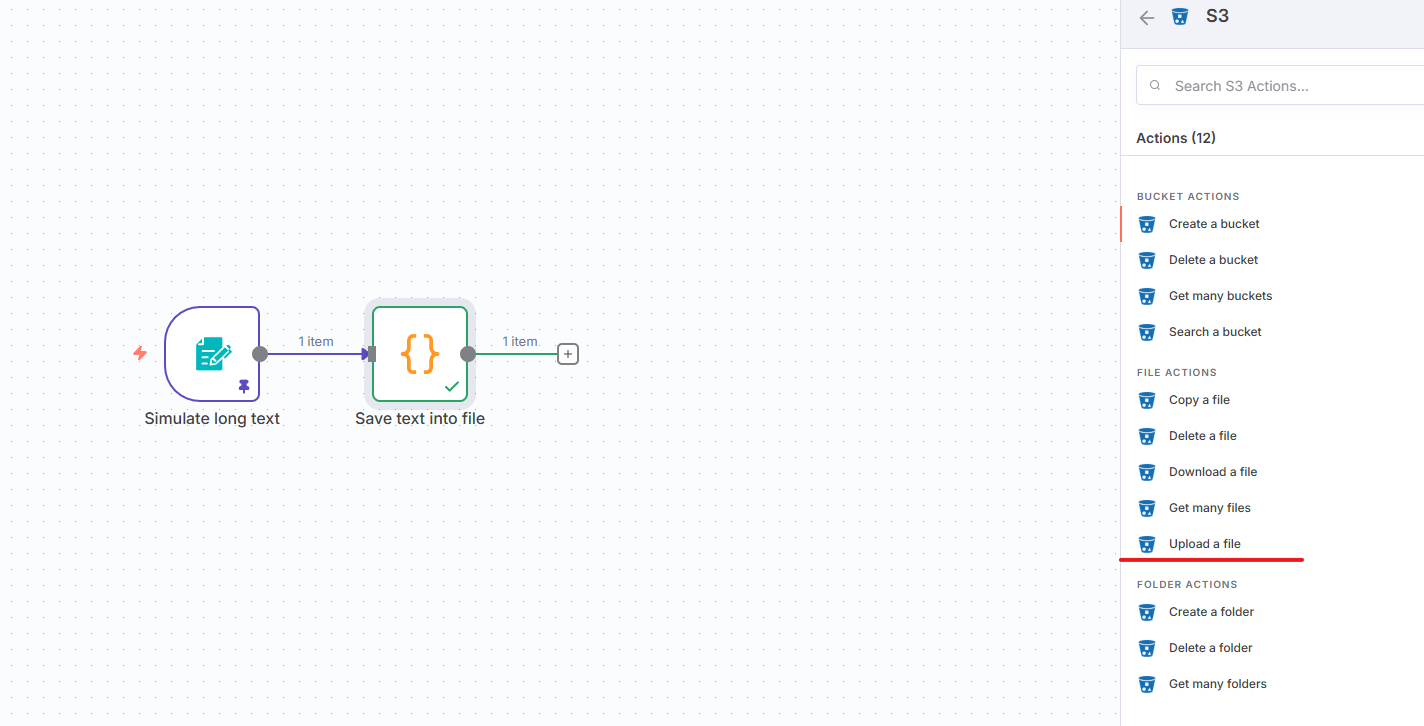
2. Upload the File to an S3 Bucket
For the upload process, configure an S3 node, applicable to both AWS S3 and S3-compatible services. Begin by selecting the “upload a file” action.
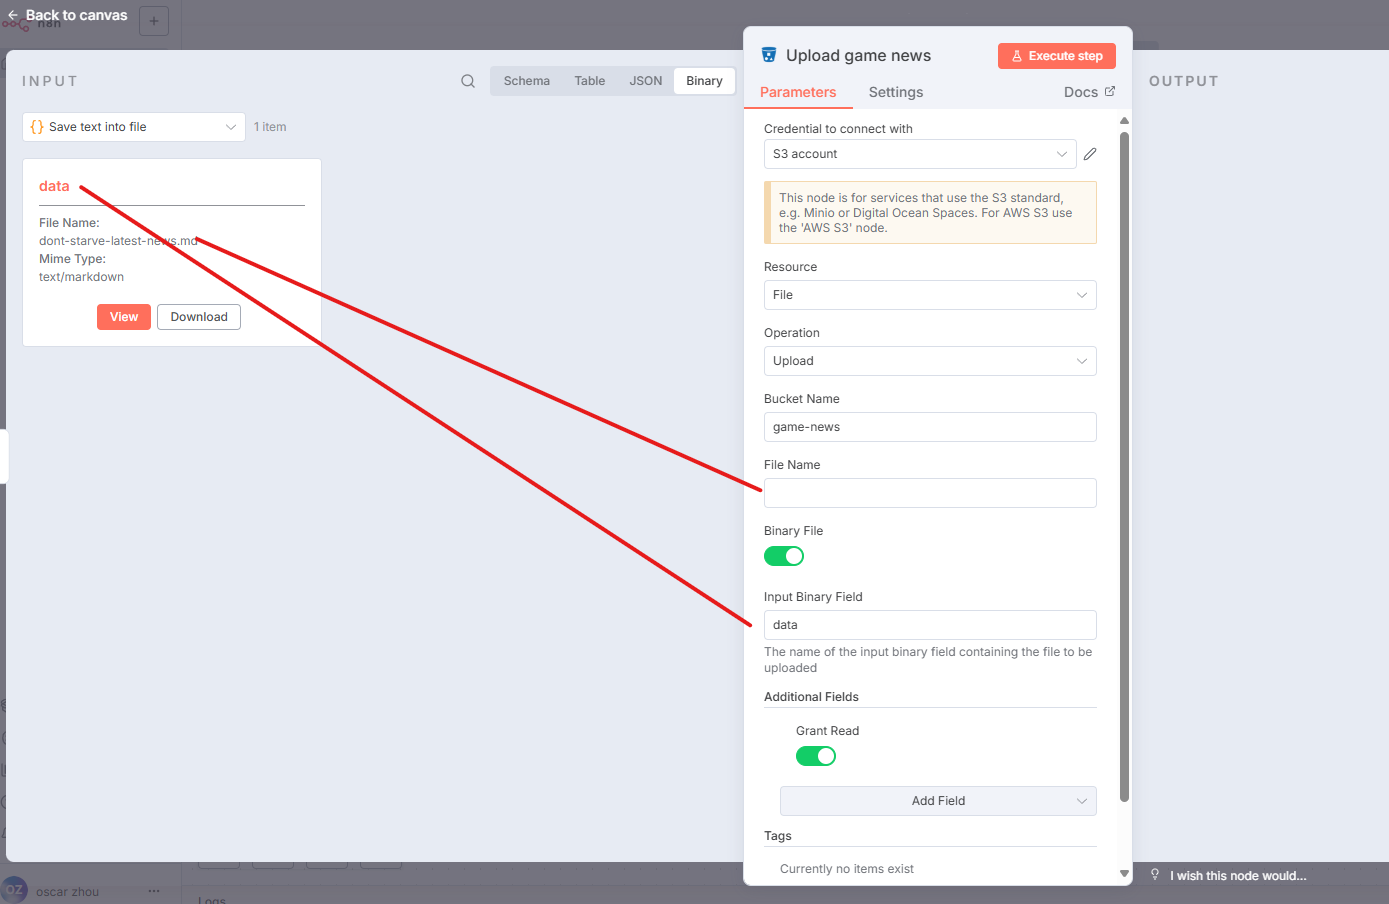
Set Resource to “file”.
Leave File Name empty because it’s specified by the file binary in the previous node.
Input Binary Field should be set to “data”.
Add a field to grant “Read” permissions.
 Note that an S3 bucket configuration will be needed for public access, which is beyond this guide’s scope.
3. Form the Download URL
Using a Code node offers flexibility to process dynamic data, including forming unique file URLs. The following sample script can be modified for endpoint, bucket, and key specifics:
const endpoint = "https://s3-bucket-url.com";  // Public S3/MinIO domain
const bucket = "game-news";
const key = $('Save text into file').first().json.fileName;

// Construct download URL
const downloadUrl = `${endpoint}/${bucket}/${key}`;

return [
  {
    json: {
      "S3FileDownloadUrl": downloadUrl,
    },
  },
];

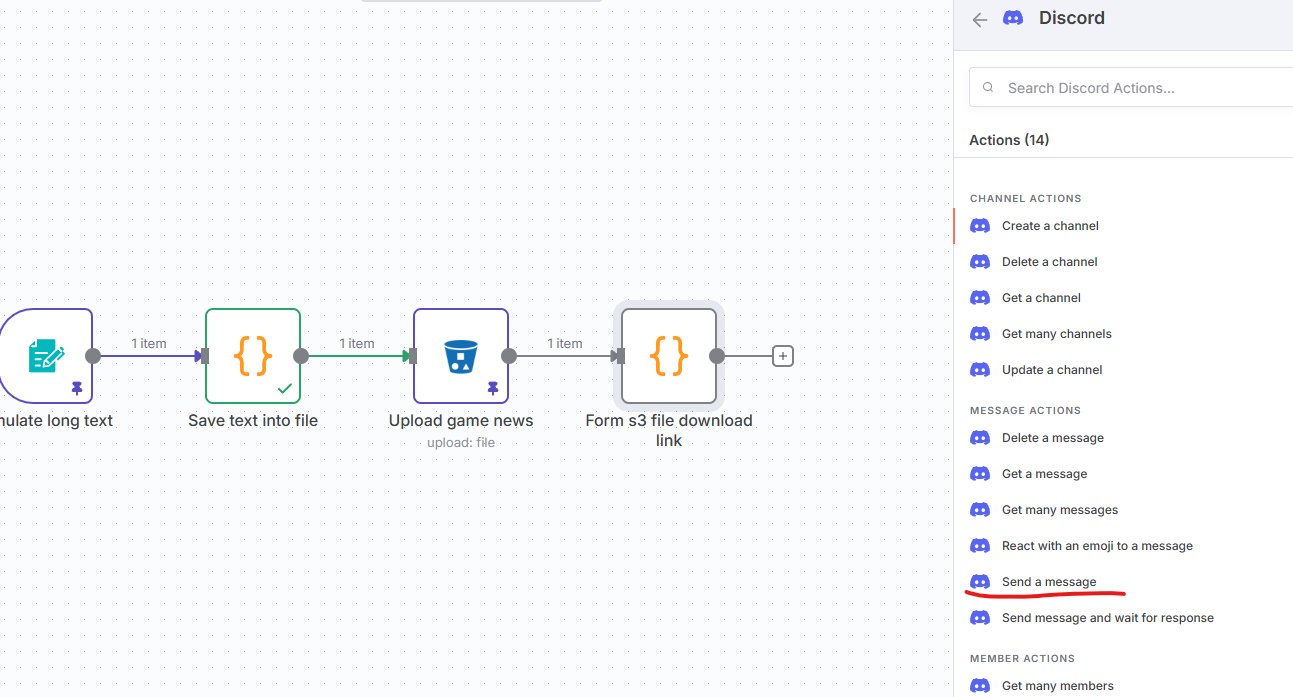
4. Send the URL through Discord
Finally, use a Discord node (or similar) to send the file URL. Configure it to post the URL upon file creation.
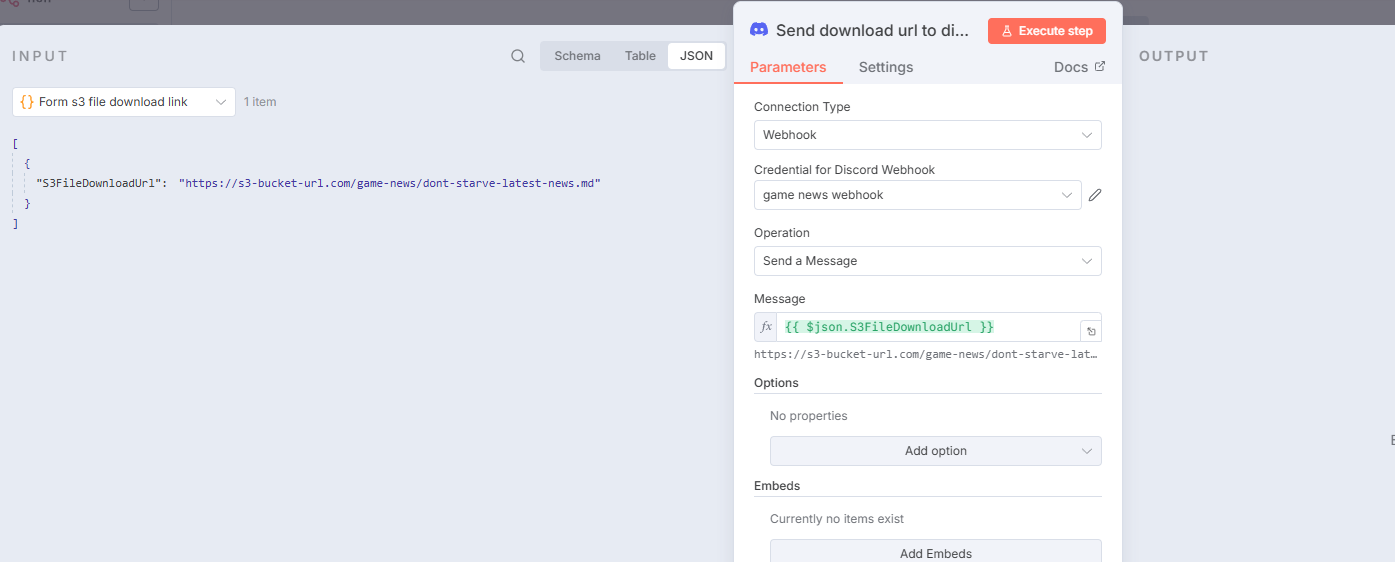
Executing the workflow provides you with a URL within your Discord channel, streamlining content access.

By following these steps, you can effectively manage large text outputs in automated workflows, leveraging n8n’s capabilities to integrate text conversion and file storage seamlessly.
Enjoyed this article? Support my work with a coffee ☕ on Ko-fi.
