Since I changed my Operating System from Windows to Ubuntu, I have been looking for a tool that can make a screenshot and put a highlight on it. Something like the Snipping Tool on Windows.
It is hard to find such tool on Linux. However, I found a way to achieve the goal with two tools.
- Screenshot (Ubuntu installed software. Open it from Ubuntu Activities)
- GIMP (GNU Image Manipulation Program. Download from https://www.gimp.org/downloads/)
This post will show how to use the above tool to highlight a screenshot step by step.
- Open the Ubuntu installed Screenshot tool
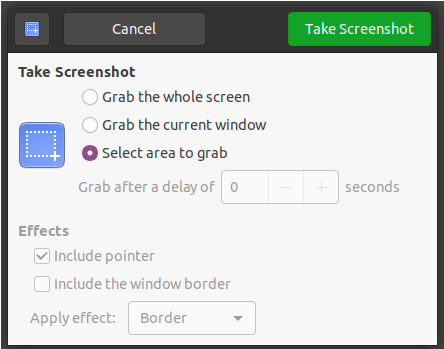
- Make a screenshot and copy it into clipboard
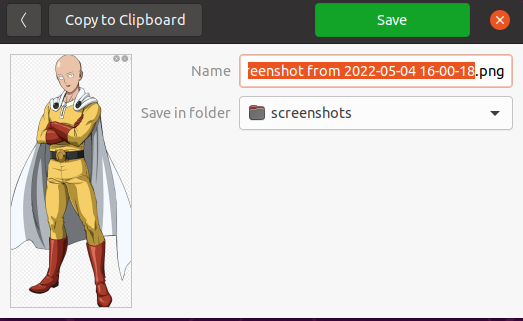
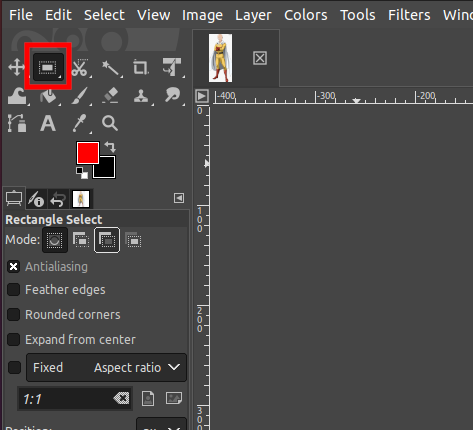
- Open GIMP and paste the screentshot. Click the Retangle Select Tool on top left corner.
- Select the highlight area on the screenshot. Open the Edit tab in the menu bar and choose the option Stroke Selection…. In the pop-up dialog, we can Line Width or the style of line. Click Stroke button to make the effect.
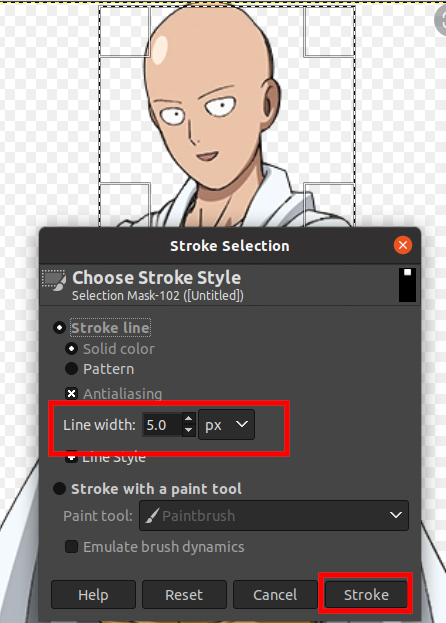
- Then we can see that the selected area is highlighted.
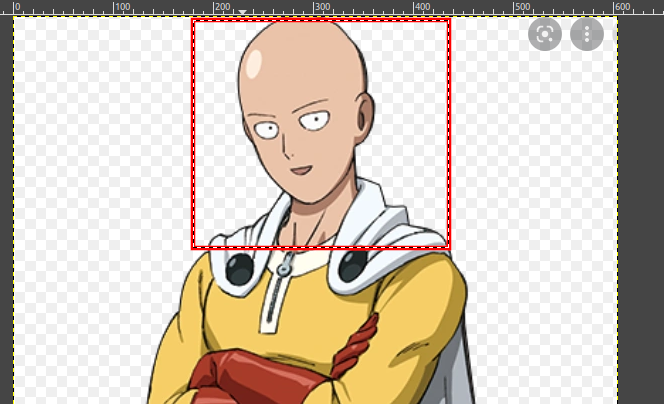
- Last thing is to export the highlighted screenshot to an image. Open the File tab in the menu bar and choose the option Export As …. In the pop-up dialog, we can edit the image name and continue click Export button.
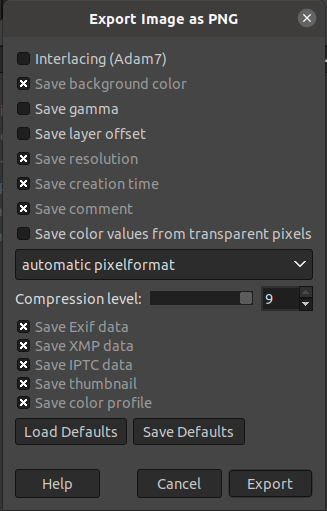
- Now we can see that a highlighted screenshot image is created

If this post helped you to solve a problem or provided you with new insights, please upvote it and share your experience in the comments below. Your comments can help others who may be facing similar challenges. Thank you!

